1# Get the server ready
Before installing and activating the theme, you will need to do a quick server set up to make sure your server is ready to process Powershell script - we will be using powershell scripts to set up the theme.
You will be setting your Execution Policy from Restricted to Unrestricted\bypass. For more information, read microsoft article on Execution Policy about Execution Policies.
If your Excution Policy is already set to Unrestricted, you can move on to installing the theme.
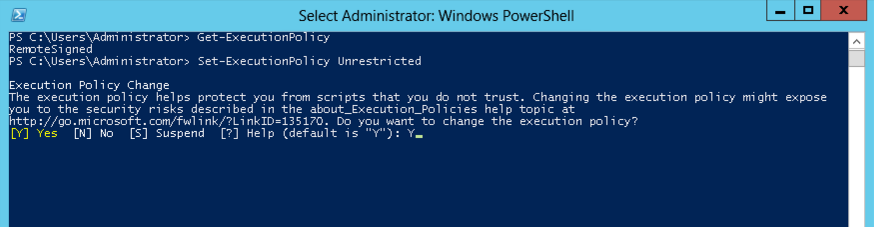
- Open SharePoint Management Shell as admin;
- Enter the command
Get-ExecutionPolicy. You should get a RemoteSigned message. - Insert the command
Set-ExecutionPolicy Unrestricted. -
After reading the Execution Policy Change, type Y and hit enter.
Now that the server is ready to run PowerShell scripts you can move on to installing the theme.
2# Install the theme
- Open your SharePoint Management Shell as an admin;
-
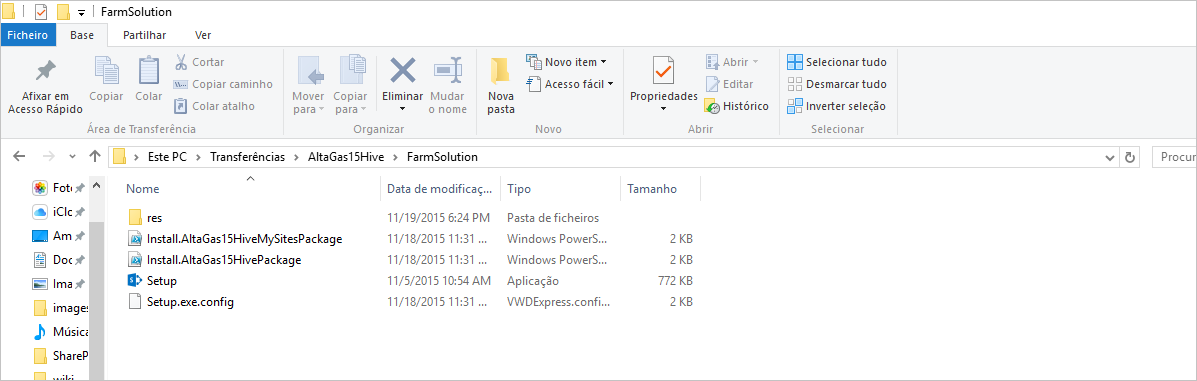
On the console, go to the path where the Install."yourthemename"Package.ps1 script is. Its usually C:/Downloads/"yourthemename".SP2013/FarmSolution.
-
Now that you are inside the folder you can just insert the command
.\Install.yourthemenamePackage.ps1. If the Execution Policy Change appears just accept it. - At this point different options will appear. Choose Option 1 to install the theme and hit enter.
- Your theme is now being installed!
Once is done you will see a success message letting you know everything went alright.
CHECK IF THE THEME WAS INSTALLED
Before moving on to activating the theme, lets confirm if the theme was successfully installed.
- Access your SharePoint Central Administration.
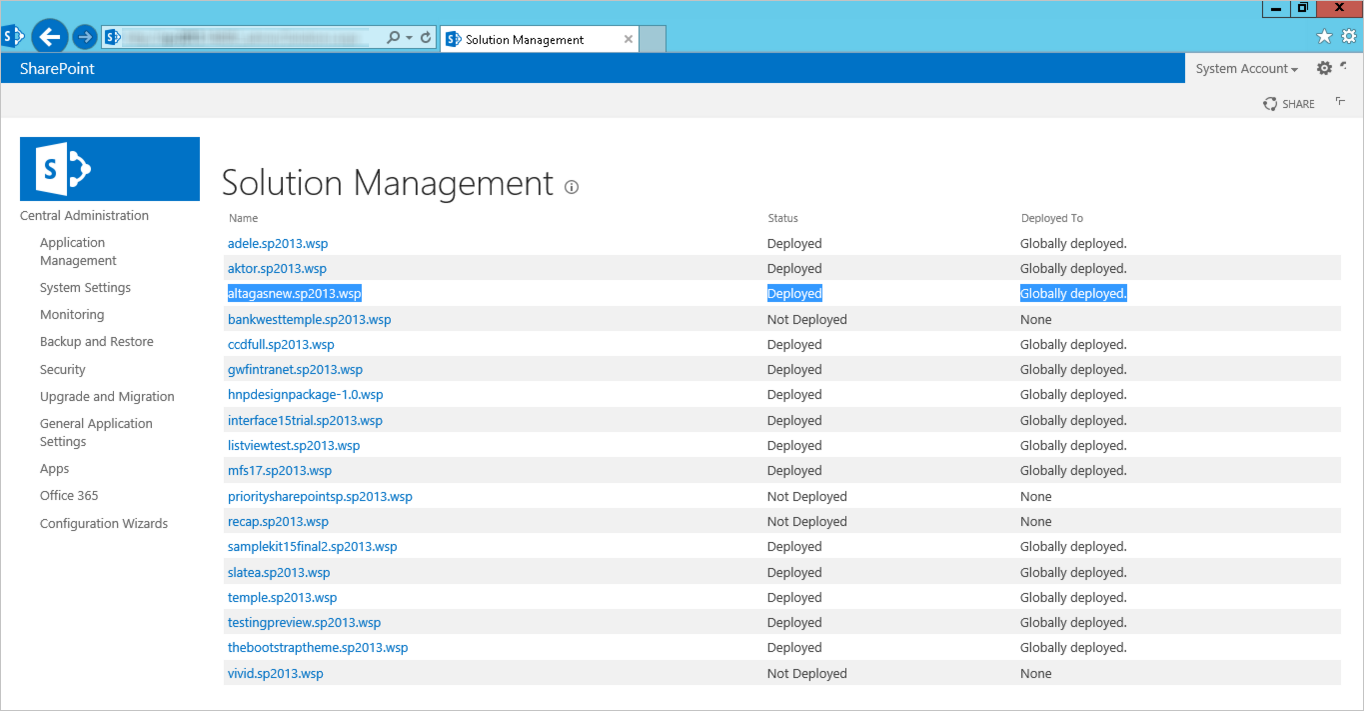
- Click on System Settings and open Manage Farm Solutions. You can also enter your Solutions Management with this path: http://[central_administration_url]/_admin/Solutions.aspx
If the theme was successfully installed, the Status tab should have Deployed and Deployed to tab should have Globally Deployed.
Theme installed! ✅
3# Activate the theme
Final step is to activate the theme.
- Click on the gear icon to open the settings menu and click on Site Settings;
- Under Site Actions, click on Manage Site Features;
- Select your theme and click on Activate.
Theme activated! ✅
3# Set the master page
Final step is to change your current master page to one of the theme's master page.
ACTIVATE SHAREPOINT PUBLISHING FEATURES
In order to change your website master page you need to first activate the SharePoint Publishing features.
To activate SharePoint publishing Features you will have to be an Admin or have granted permissions from your Admin.
- Open the settings menu and click on Site settings;
-
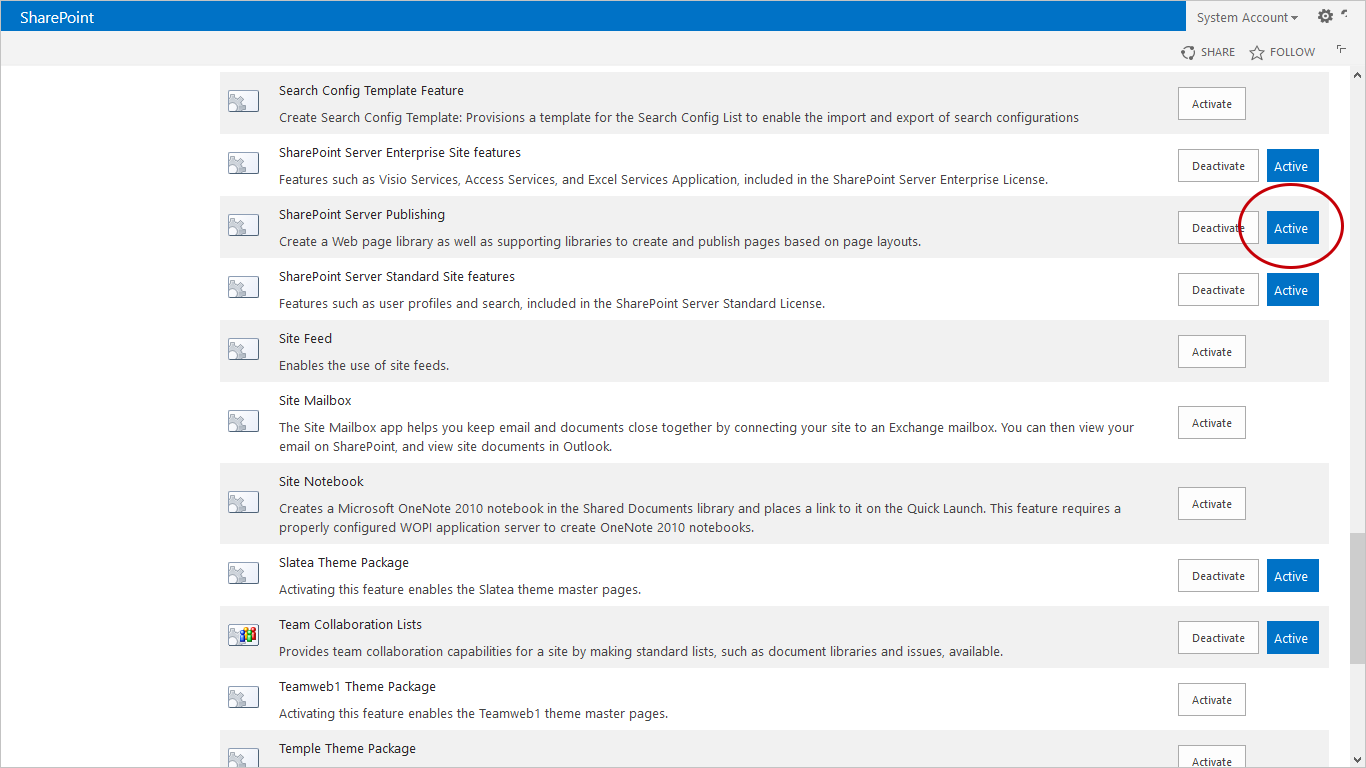
Under Site Actions, click on Manage site features;

-
Search for **SharePoint Server Publishing and click on *Activate;
-
SharePoint Publishing features are now activated.
SETTING THE MASTER PAGE
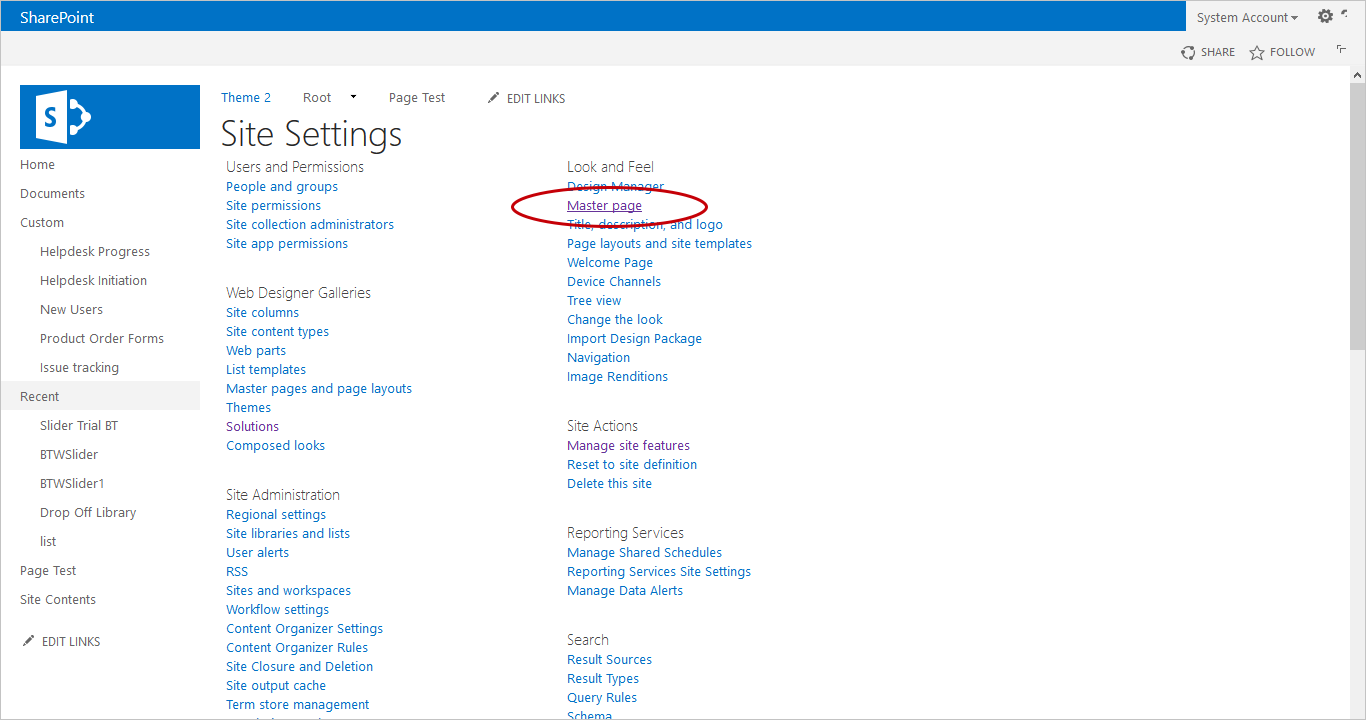
- Open the Settings menu and click on Site Settings;
-
Under Look and Feel, click on Master page.
-
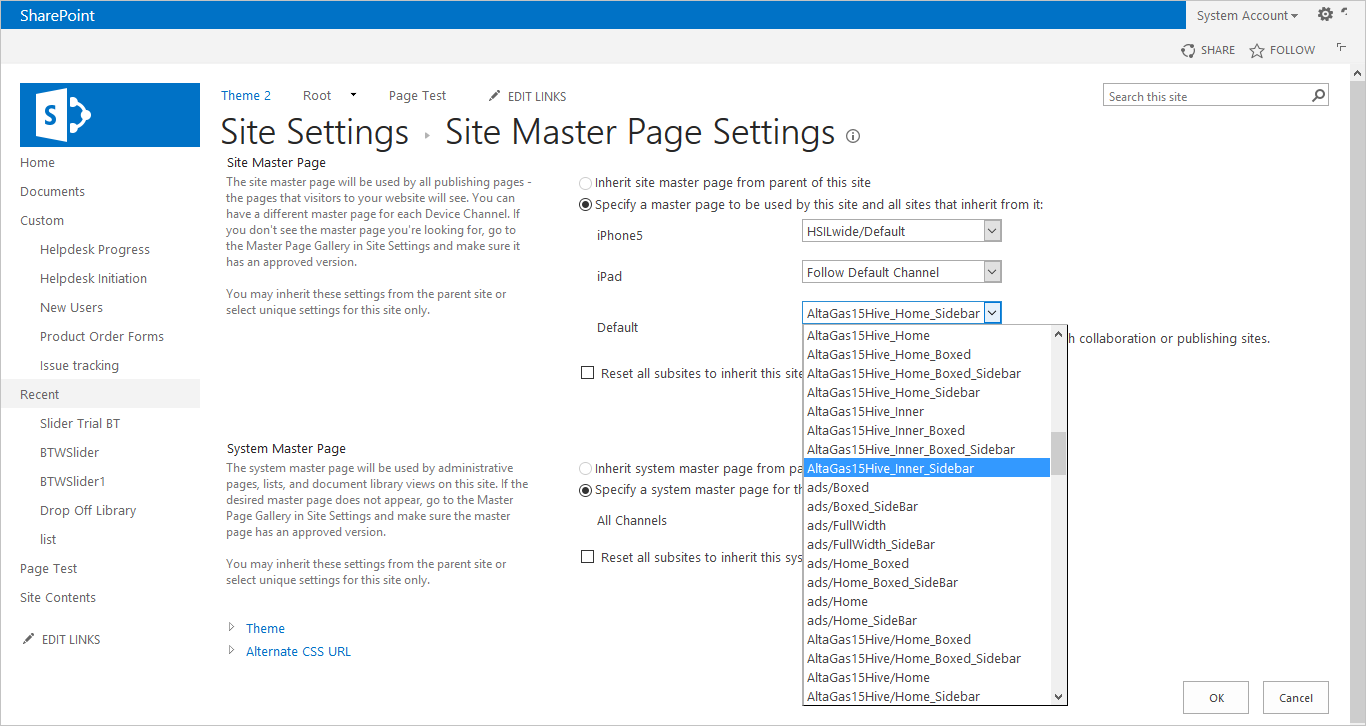
Choose the master page you want to apply.
BindTuning master pages have the following terminology: yourthemename_nameofthemasterpage.
Master Page set! ✅
Installation done! On to the next chapter where we walk you through setting the master page to apply the theme to your website.
Next - Set the Master Page